Reading a crochet pattern can feel like learning a new language—and, let’s be honest, it kind of is! But once you understand the basics, it’s like unlocking a secret code that opens the door to all kinds of beautiful projects. Let me walk you through it step by step, in the simplest way possible, so you can feel confident and excited rather than overwhelmed.
1. The Starting Line: What You’ll Need
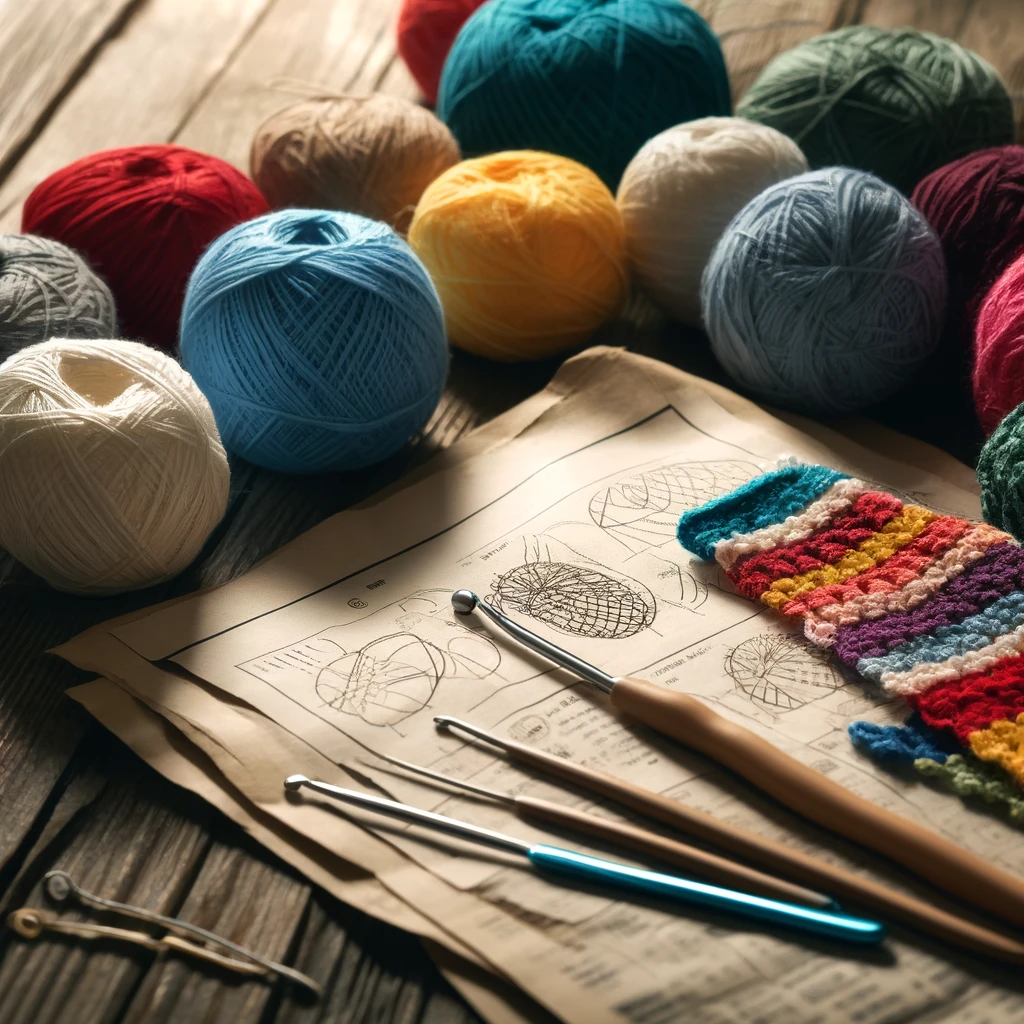
Before you jump into the pattern, make sure you have:
- Yarn and hook the pattern suggests (or something close).
- Extras like stitch markers, scissors, and a yarn needle.
- A comfy spot to crochet (because you’ll probably be here for a bit).
It helps to know a few basic stitches (like chain and single crochet), but don’t worry if you’re still learning—every pattern is an opportunity to grow!
2. What’s in a Pattern? (And How to Not Freak Out)
A typical pattern has a few sections. They look intimidating at first, but let’s break them down:
- Title: What you’re making (e.g., “Chunky Beanie” or “Simple Baby Blanket”).
- Materials: This tells you exactly what yarn and tools you need. You can substitute, but try to stay close to the original if you’re new to this.
- Gauge: This part sounds fancy, but it’s just a way to check that your stitches will match the size the pattern expects (more on this below).
- Abbreviations: Here’s where things get shorthand-y. Crochet patterns love abbreviations to save space, like:
- ch = chain
- sc = single crochet
- dc = double crochet
- sl st = slip stitch
- rep = repeat
Don’t worry—you’ll get used to these with practice! It’s like learning slang: weird at first, but then it becomes second nature.
3. How to Read Crochet Code Without Melting Your Brain
Let’s look at a basic line from a pattern:
Ch 5, join with sl st to form a ring. Ch 1, sc in each st around, join with sl st.
Translation:
- Ch 5: Make 5 chains.
- Join with sl st: Use a slip stitch to connect the ends of the chain into a circle.
- Ch 1: Make 1 chain to prepare for the next step.
- sc in each st around: Do a single crochet in each stitch of the circle.
- Join with sl st: Use a slip stitch to close the round.
Take it step by step—it’s like following a recipe!
4. Brackets, Asterisks, and Repeats—Oh My!
Patterns often use symbols to show repeats. Here’s what they mean:
- Asterisks (*): Tells you to repeat a specific section.
Example: *sc in next st, ch 1* rep 4 times means “Do a single crochet in the next stitch, then chain 1. Repeat this 4 times.” - Parentheses ( ): Groups things that go together.
Example: (3 dc, ch 2, 3 dc) tells you to do everything inside the parentheses in one spot. - Square brackets [ ]: Sometimes used for even bigger repeats or optional steps.
5. Rows vs. Rounds: What’s the Difference?
- Rows: You work back and forth, turning your project at the end of each row. This is common for scarves, blankets, and sweaters.
- Rounds: You crochet in circles, often for hats, bags, and motifs. Each round usually ends with a slip stitch to join it back into a loop.
6. Gauge: Do I Really Need It?
Look, I get it. No one loves making a gauge swatch, but it can save you from heartbreak later. Gauge is a little test piece you make to ensure your stitches match the pattern’s measurements. If your gauge is off, your project might come out too big or too small.
It’s like checking that the ingredients for your cake are measured correctly—you could skip it, but then you’re taking your chances.
7. A Quick Example: Basic Granny Square
Let’s walk through a simple granny square pattern to show you how this all comes together:
Rnd 1: Ch 4, join with sl st to form a ring.
Rnd 2: Ch 3 (counts as 1 dc), 2 dc in ring, ch 2. *3 dc in ring, ch 2* rep 3 times. Join with sl st.
Rnd 3: Sl st into next ch-2 space, ch 3, (2 dc, ch 2, 3 dc) in same space. *Ch 1, (3 dc, ch 2, 3 dc) in next ch-2 space* rep around.
Join with sl st.
Translation:
- Make a chain of 4 and join it into a loop.
- Start building the square with clusters of double crochets and chains.
- Keep expanding the square by adding new clusters in each corner.
8. What to Do When You Get Stuck
Every crocheter has been there: stuck on a pattern, wondering if it’s worth it to frog (rip out) everything. Here are a few tips to keep you going:
- Take a break: Sometimes, walking away for a bit helps.
- Check YouTube: There are amazing tutorials for almost any stitch or technique.
- Join a crochet group: Whether online or in person, other crocheters love to help!
- Frog with love: It’s okay to undo your work and start fresh. It’s part of the process.
9. Celebrate the Small Wins
Crochet is supposed to be fun (even if it sometimes makes you scream into a pillow). Don’t worry if your first project isn’t perfect—it’s the journey that counts! As you read more patterns, things will click. Soon enough, you’ll be breezing through them like a pro.
Final Thoughts
Reading a crochet pattern is like unlocking a new world. The more patterns you read, the easier it becomes. Start small, stay curious, and don’t be afraid to make mistakes. You’re building something beautiful, one stitch at a time.
Happy crocheting, and may your yarn never tangle! 🧶💛


Be the first to comment