Gauge and Materials Instructions
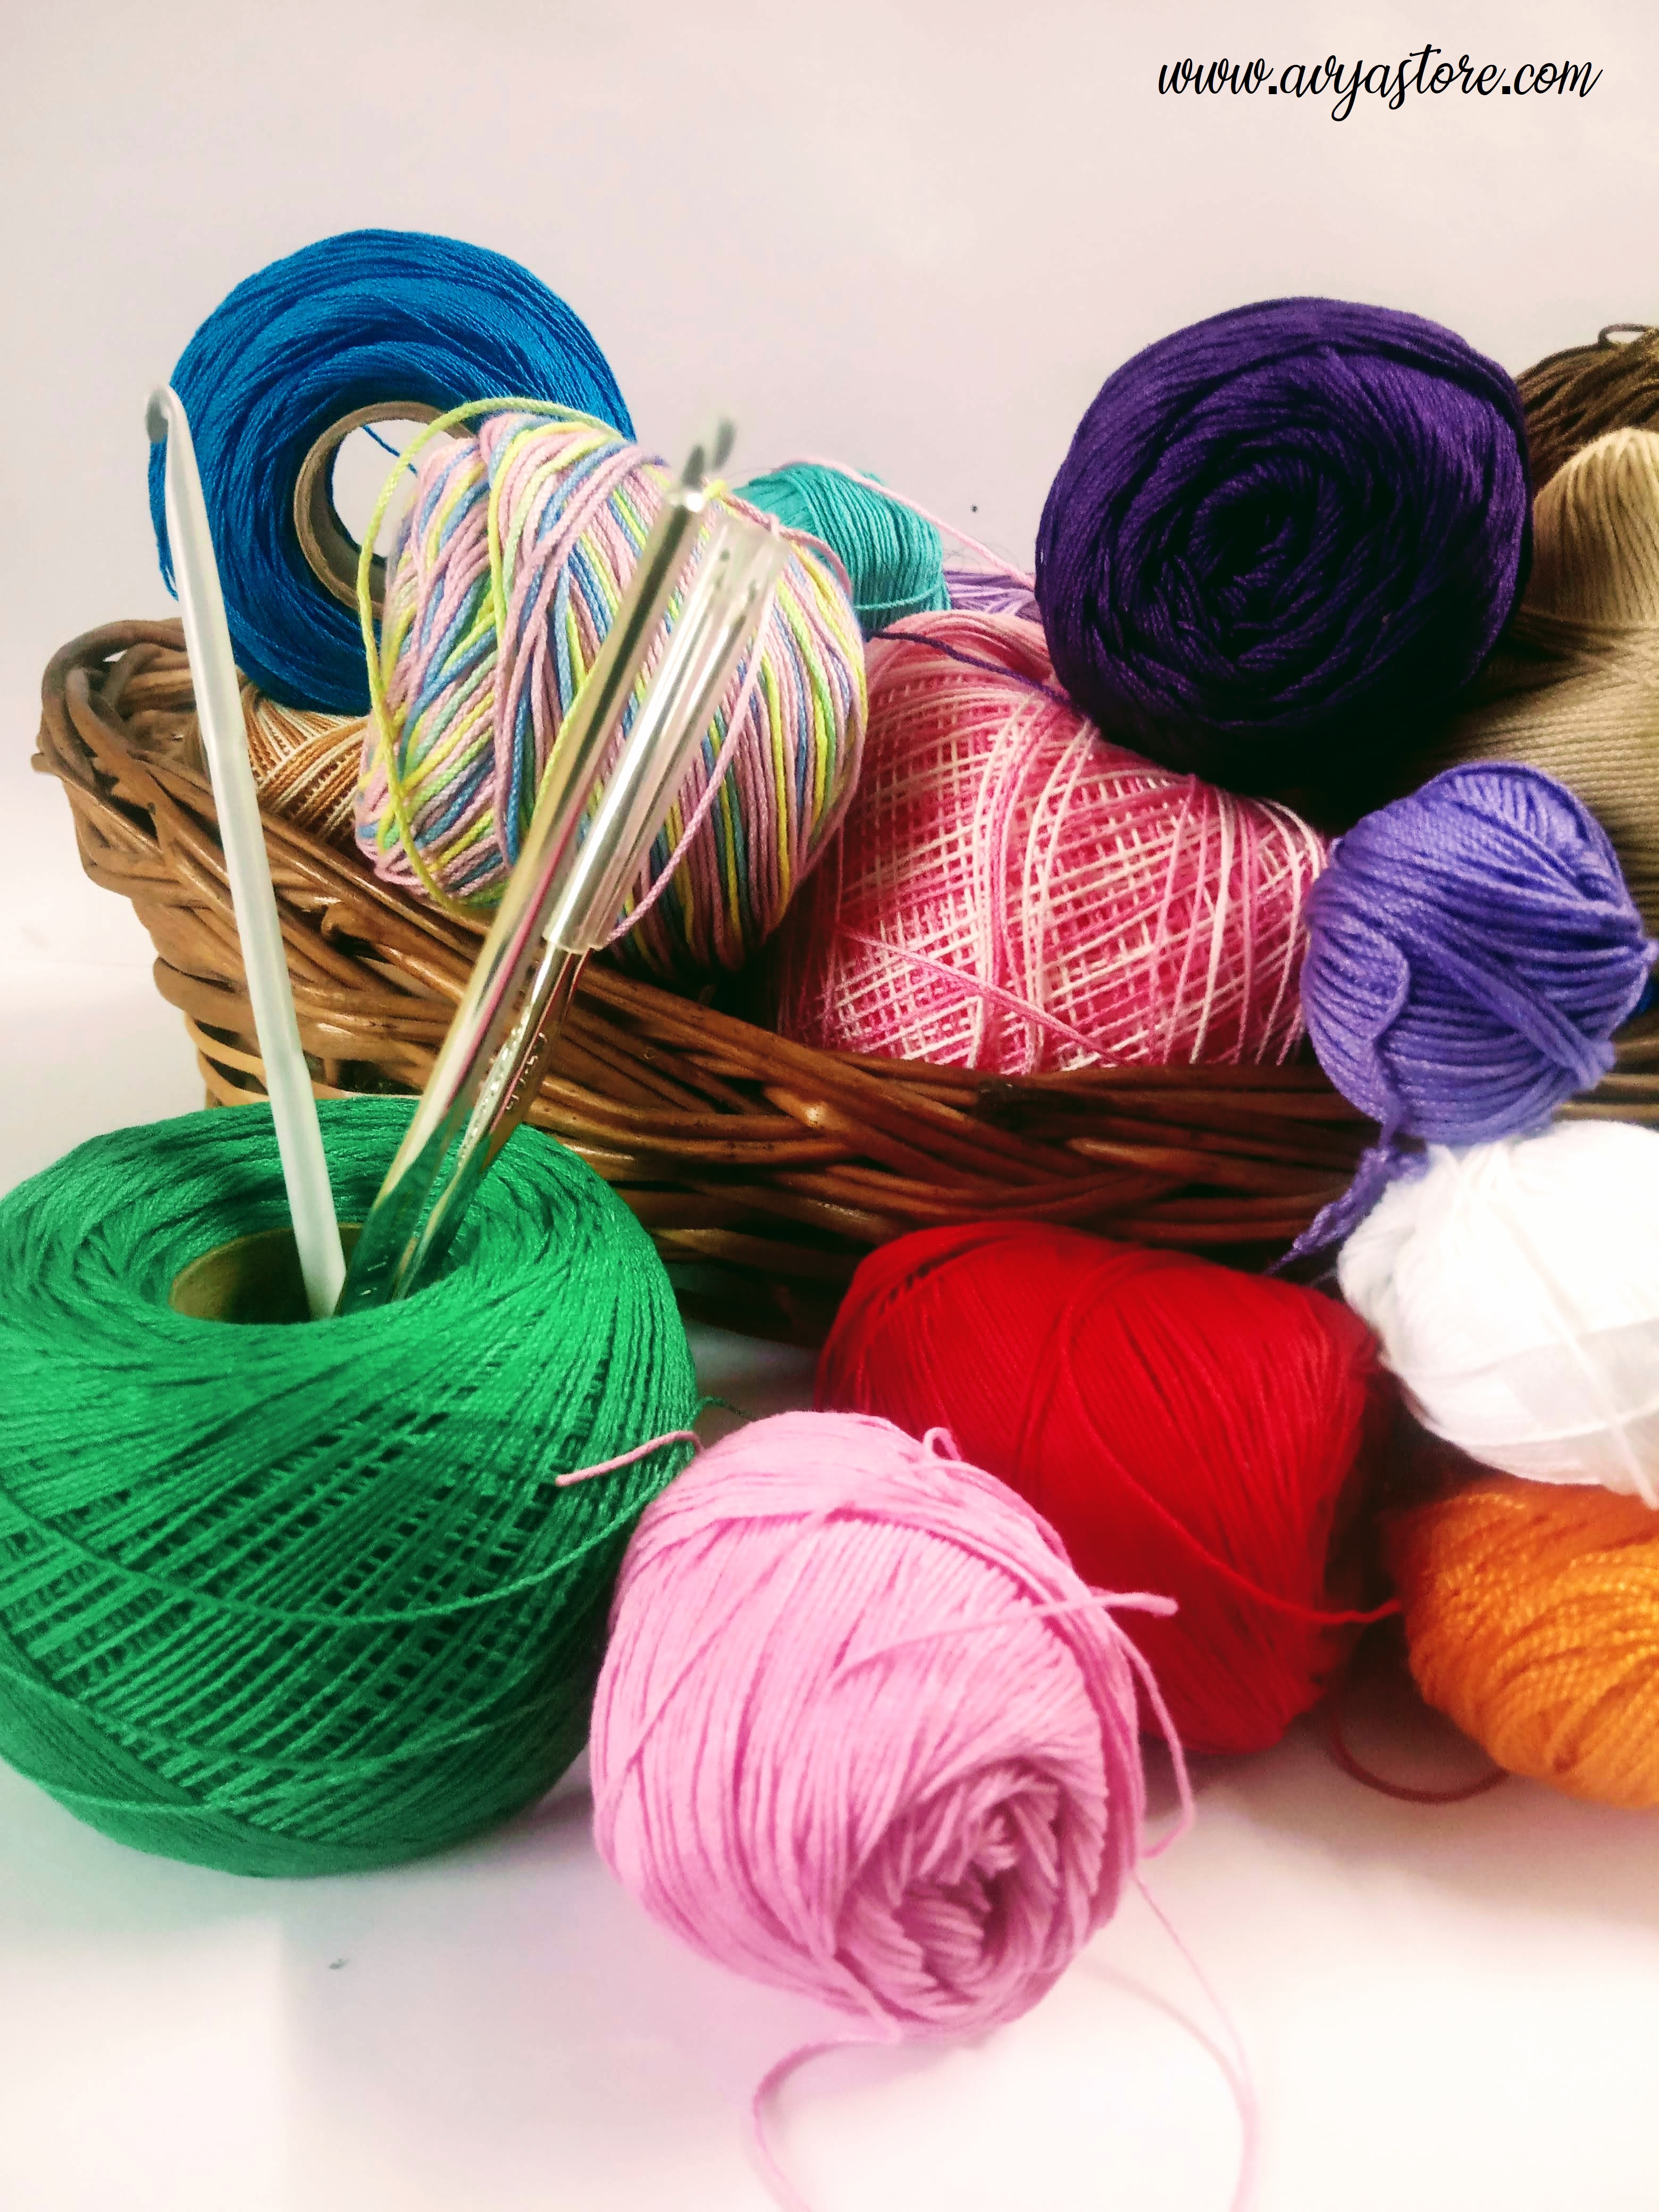
Unlike most crochet patterns, the pattern specified may have no gauge, no thread requirements, and no hook sizes. That’s because you can vary the size and appearance of each embellishment to lit the needs of your project. When choosing the thread and hook for your project, you may wish to do some experimenting with a variety of threads until you achieve the appearance end texture that pleases you. Since you may choose other thread weights. we have intended this chart of suggested thread and hook size combinations. Be sure, however.
To make swatches with the selected thread and hook until you achieve the look you want. Change hook sizes until you are pleased so.
| Yarn/Thread Types | Ply/ No. | Hook size in mm |
| Laura Cotton | 4 ply | 3.00 to 4.00 |
| Bamboo | 3.00 to 4.00 | |
| Bali Cotton Yarn | 3.00 to 4.00 | |
| Pearl | #5 | 1.25 to 1.75 |
| Pearl | #8 | 0.90 to 1.00 |
| Pearl | #3 | 1.50 to 2.00 |
| Anchor Threads | #40 | 0.60 to 0.70 |
| Cotton Threads | #30 | 0.75 to 0.95 |
| Cotton Threads | #20 | 0.85 to 1.00 |
| Cotton Threads | #10 | 1.50 to 1.75 |
| Metallic Threads | #10 | 1.50 to 1.25 |
| Cotton Yarn | 8 / 10 ply | 3.00 to 4.50 |
| Purse Thread | 4 ply | 1.75 to 3.00 |
| Macramé Cord | 8 ply | 5.00 to 7.00 |
| Malai Dori | 4.50 to 6.00 | |
| T-shirt Yarn | 7.00 to 9.00 |
Working with Steel Hooks
If you have never worked with steel hooks and finer threads, don’t be afraid to try. You will use the same stitch you’re familiar with, but at first, it will feel clumsy and awkward. For an experienced crocheter. this is a hit of a surprise — suddenly feeling all thumbs attain just as when you first learned to crochet. But this will pass in a few hours of crocheting, as you adjust your tension and working method to the new tools. Soon you will work much more by feel than when working with heavier yarns. So be patient with any initial clumsiness and confusion–they won’t be with you long.
Steel hooks range in size from 00 (large) to 14 (very fine) and are 5″long,g which is shorter than the aluminium or plastic hooks. The shape is unique from the other crochet hooks. There is the throat, then the shank, and after the shank, the steel widens again before it reaches the forged grip. When crocheting, the stitches mustn’t slide beyond the shank as this will cause a loose tension and alter the gauge. If you find you are having difficulty at first, Tada piece of cellophane tape around the hook to keep the stitches from sliding past the correct area with practice. You will get a hand on with continues practice.
Read More on:
https://www.avyastore.com/the-a-z-of-crochet-hook/
Finishing Techniques
There are many ways in which all of us could improve our crochet skills, and one of those ways is in the techniques we use to finish our items after they have been so lovingly crocheted. Taking enough time to finish our crochet project neatly and carefully may be the most important part of our finished design. Here are some hints that can help to achieve a smooth, finished look.
When making borders, either for an afghan or another item, make sure there are enough stitches in the ends of rows so the work will be perfectly flat. Sew items together neatly and carefully, making sure stitches am neither too loose nor too tight. I prefer using a blunt-end metal needle called a tapestry needle.
When crocheting limbs, other body parts or extra pieces for stuffed dolls and toys leave about a W length of yarn when fastening off. Use this length to sew pieces on securely, and take extra stitches when needed to shape arms, etc., in the proper direction. Leave longer lengths of yarn on afghan squares and strips for sewing together later.
One of the most important finishing techniques is weaving in loose yam ends so they won’t come out. Over the years, I have tried many techniques and have found that the best way to make them neat, and yet stay put, is to use a combination of weaving and sewing. Thread a tapestry needle with the yam end and work on the back, weave in and out of the same colour stitches for about 2°, then take a small stitch to secure. Now turn needle and working in the opposite direction, weave back to just before the start, cut the yarn
Yarn ends for stuffed items can be hidden more easily. I bury the knots and ends into the piece, a technique borrowed from quilting. Thread the needle. Poke into the piece dose to the knot. Push a needle into and through the item (stuffing and all). and come up and out several inches away. Pull knot end into the piece until buried and clip excess yarn.
Washing and Blocking
When the establishment is ready, wash it by hand to the cure that any shrinking or tightening tip of the stitches occurs before we attach it to another fabric. While still damp, block the embellishment by spreading it out flat on a padded surface, with the right side up. Smooth the embellishment out to size, being sure that all stitches closed and that all picots, scallops. Loops, etc, are open. You may wish to use rust-proof straight pins to hold the edges in place. Let dry thoroughly. If desired, whom embellishment I pin-out, you can spray it with spray starch to give a crisp finish.
If you are using your embellishment as an ornament and weak, like a stiff finish, place a commercial stiffening product or equal amounts of white Iran glue and water into a plastic bag. Immerse the stitched piece in the bag and let soak for one minute. Remove and press out extra solutions. Dab with a paper towel to remove the solution from decorative holes. Block as described in the previous paragraph. Protecting the blocking surface with plastic wrap.


Be the first to comment